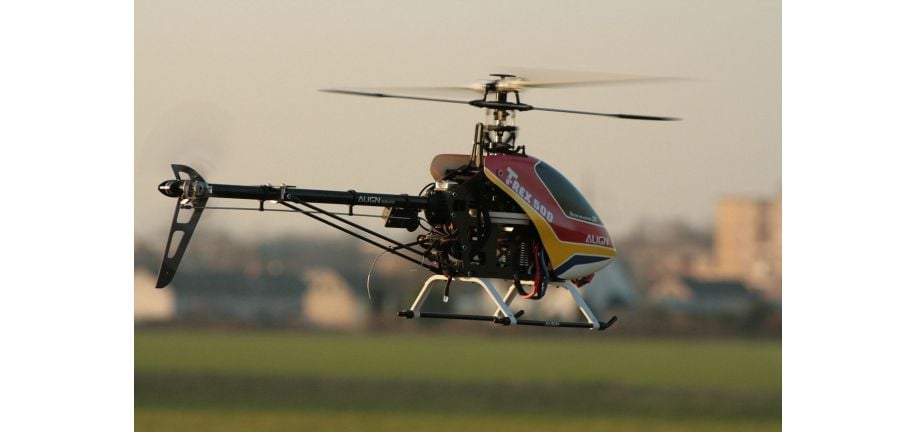
Ensuring your RC helicopter delivers optimal control and stability during flight begins with a customer-focused approach to leveling the swashplate. Follow these steps for a smooth and effective process:
-
Prepare Your RC Helicopter with Care: Safeguard your RC helicopter by securely mounting it or having a helper maintain a steady grip. Use a heli stand or another reliable method to prevent any movement while you work on leveling the swashplate.
-
Empower Your Helicopter: Activate the transmitter and power up the helicopter. Confirm that the throttle stick is at its lowest position, and ensure the trim tabs are centrally aligned.
-
Access the Swashplate with Ease: Eliminate any canopy or cover that obstructs access to the swashplate. Depending on your helicopter model, this may involve removing screws or clips. Prioritize accessibility for a seamless leveling process.
-
Fine-Tune the Servo Links: Identify the servo arms linked to the swashplate and adjust the servo link lengths. These are typically threaded rods with adjustable linkages at both ends, allowing for precise adjustments.
-
Customer-Centric Leveling Process: Your focus is on aligning the swashplate with the helicopter’s mainshaft. Follow these steps:
a. Check Swashplate Movement: Gently move the collective stick (throttle stick) up and down to observe the swashplate's smooth, unobstructed motion.
b. Observe Swashplate Tilt: Shift the cyclic stick (aileron or elevator) to one side and observe a slight tilt in the swashplate corresponding to the stick movement.
c. Personalized Servo Link Adjustments: If the swashplate tilts excessively or in the wrong direction, make personalized adjustments to the servo link lengths. For instance, if it tilts left when moving the cyclic stick right, shorten the right servo link. Make small adjustments until the swashplate is level or slightly tilted in the correct direction.
d. Repeat for Each Servo: Systematically go through the same process for each servo arm connected to the swashplate, fine-tuning link lengths as needed.
-
Test and Tailor for Perfection: After adjustments, power off and on the helicopter, repeating the swashplate leveling process. Continuously fine-tune link lengths until the swashplate moves seamlessly and tilts accurately in response to cyclic stick movements.
-
Assure Linkage Security: When satisfied with the swashplate leveling, secure the linkages by tightening locknuts or set screws on the servo linkages. Ensure everything is snug but not excessively tight.
-
Reassemble with Precision: Put the canopy or cover back in place, securing all screws or clips meticulously.


